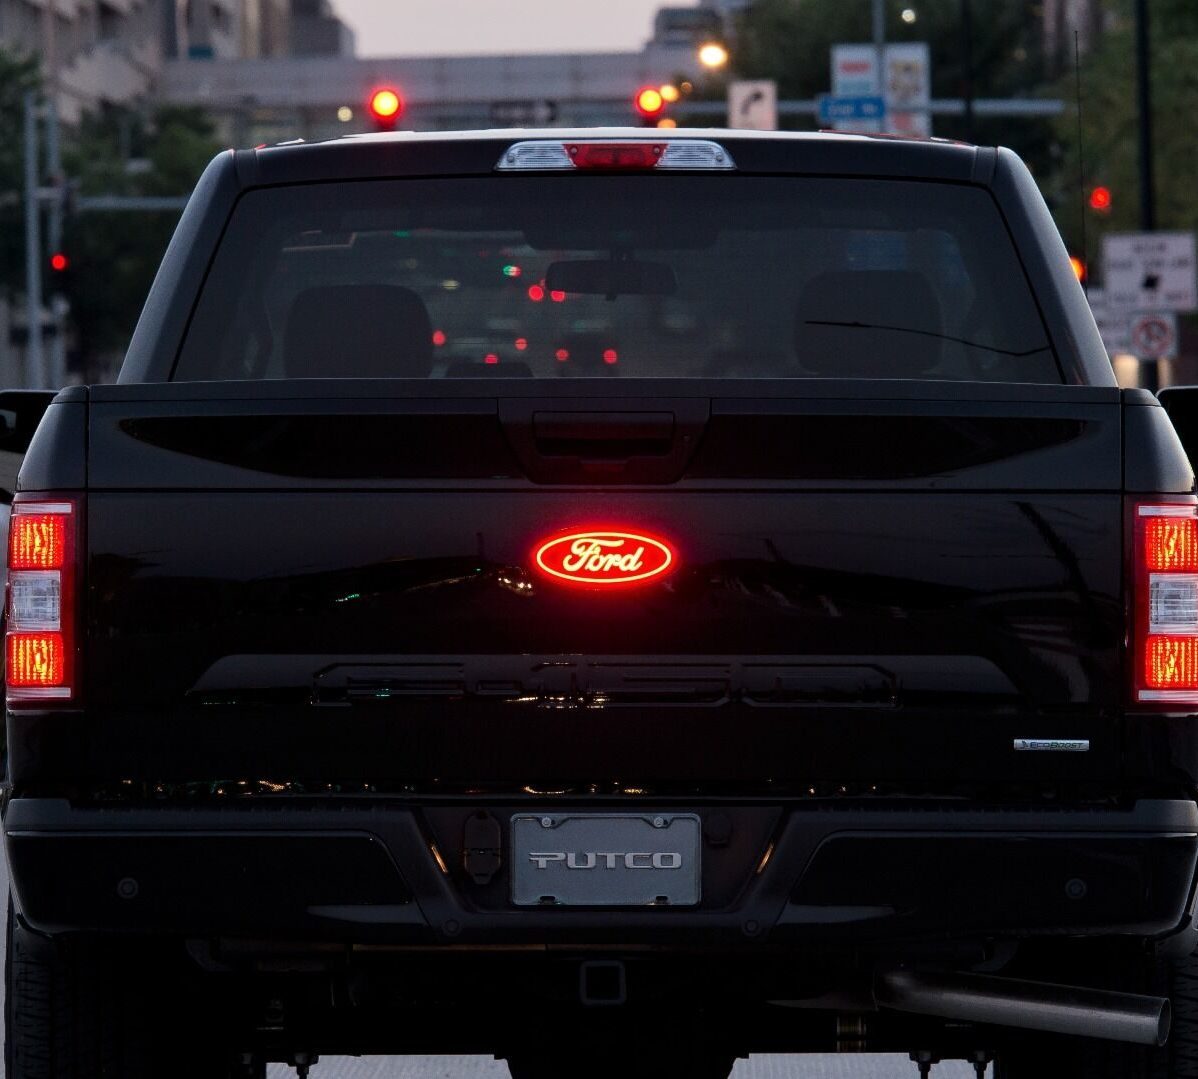
How to Remove F150 Emblem from Tailgate (By Year, Safely)
To remove the F150 emblem from the tailgate, first figure out whether yours is adhesive-only or also held by alignment pins. Adhesive-only emblems come off with heat plus fishing line or dental floss. Pin-fastened emblems (common on the Ford oval and some trim badges) also have a backing plate with retaining nuts behind the tailgate panel, so you must remove the access panel and unbolt it before prying. Skipping that step is the fastest way to snap the emblem or dent the tailgate.

Credit: www.amazon.com
Preparation
Looking to remove the F150 emblem from your tailgate? Here’s a quick and easy guide with step-by-step instructions on how to do it. No need to worry, you’ll have your tailgate looking brand new in no time!
Gather The Necessary Tools
When it comes to removing the F150 emblem from your tailgate, it’s important to gather the necessary tools before starting the process. Having the right tools will make the task much easier and more efficient. Here are the tools you’ll need:- Heat gun or hair dryer: A heat gun works faster, but a hair dryer is safer if you are new to this. Either one softens the adhesive so the emblem releases without pulling paint.
- Fishing line or dental floss: Heavy-duty fishing line (around 20 lb test) or doubled-over floss saws through the adhesive behind the emblem.
- Plastic pry tool or plastic scraper: For lifting the emblem once the adhesive is cut, and for scraping residue without gouging paint.
- Adhesive remover or wax and grease remover: Cleans up the leftover glue. Test on a hidden spot first.
- Painter’s tape: Frames the emblem so you do not overheat the surrounding paint.
- Gloves and eye protection: Heat guns and flying adhesive bits are no joke.
- Trim panel tools: Needed only if your emblem is pin-fastened and you have to reach the retaining nuts behind the tailgate panel.
Ensure Safety Measures
Before you start removing the F150 emblem, it’s essential to take safety measures to protect yourself and your vehicle. Here are a few important safety tips to keep in mind:- Wear gloves: Wearing gloves will not only protect your hands but also ensure you have a better grip on the tools you’ll be using.
- Work in a well-ventilated area: It’s important to have proper ventilation while working with a heat gun to avoid inhaling any fumes. If possible, open the garage door or work outside.
- Use eye protection: When using the heat gun, it’s a good idea to wear safety glasses to protect your eyes from any flying debris or hot adhesive.
- Be cautious around the paint: While removing the emblem, be careful not to scratch or damage the paint on the tailgate. Using a plastic pry tool and dental floss will help minimize the risk of paint damage.
Identify Your F150 Tailgate Emblem Type
Adhesive-Only Emblems
These are held purely by foam tape. Heat and fishing line are all you need, and there are no fasteners behind the panel. Most aftermarket and trim badges fall into this group.
Adhesive and Pin-Fastened Emblems
These have alignment pins that pass through the tailgate plus a backing plate with retaining nuts on the inside. The Ford oval on many trucks is built this way. You must remove the tailgate access panel and unbolt the backing plate before the emblem will come free — prying first will snap the pins or bend the panel.
By following these preparation steps, you’ll be ready to tackle the task of removing the F150 emblem from your tailgate safely and effectively. With the right tools and safety measures in place, the process will be a breeze, and you’ll be on your way to customizing your vehicle to your preference.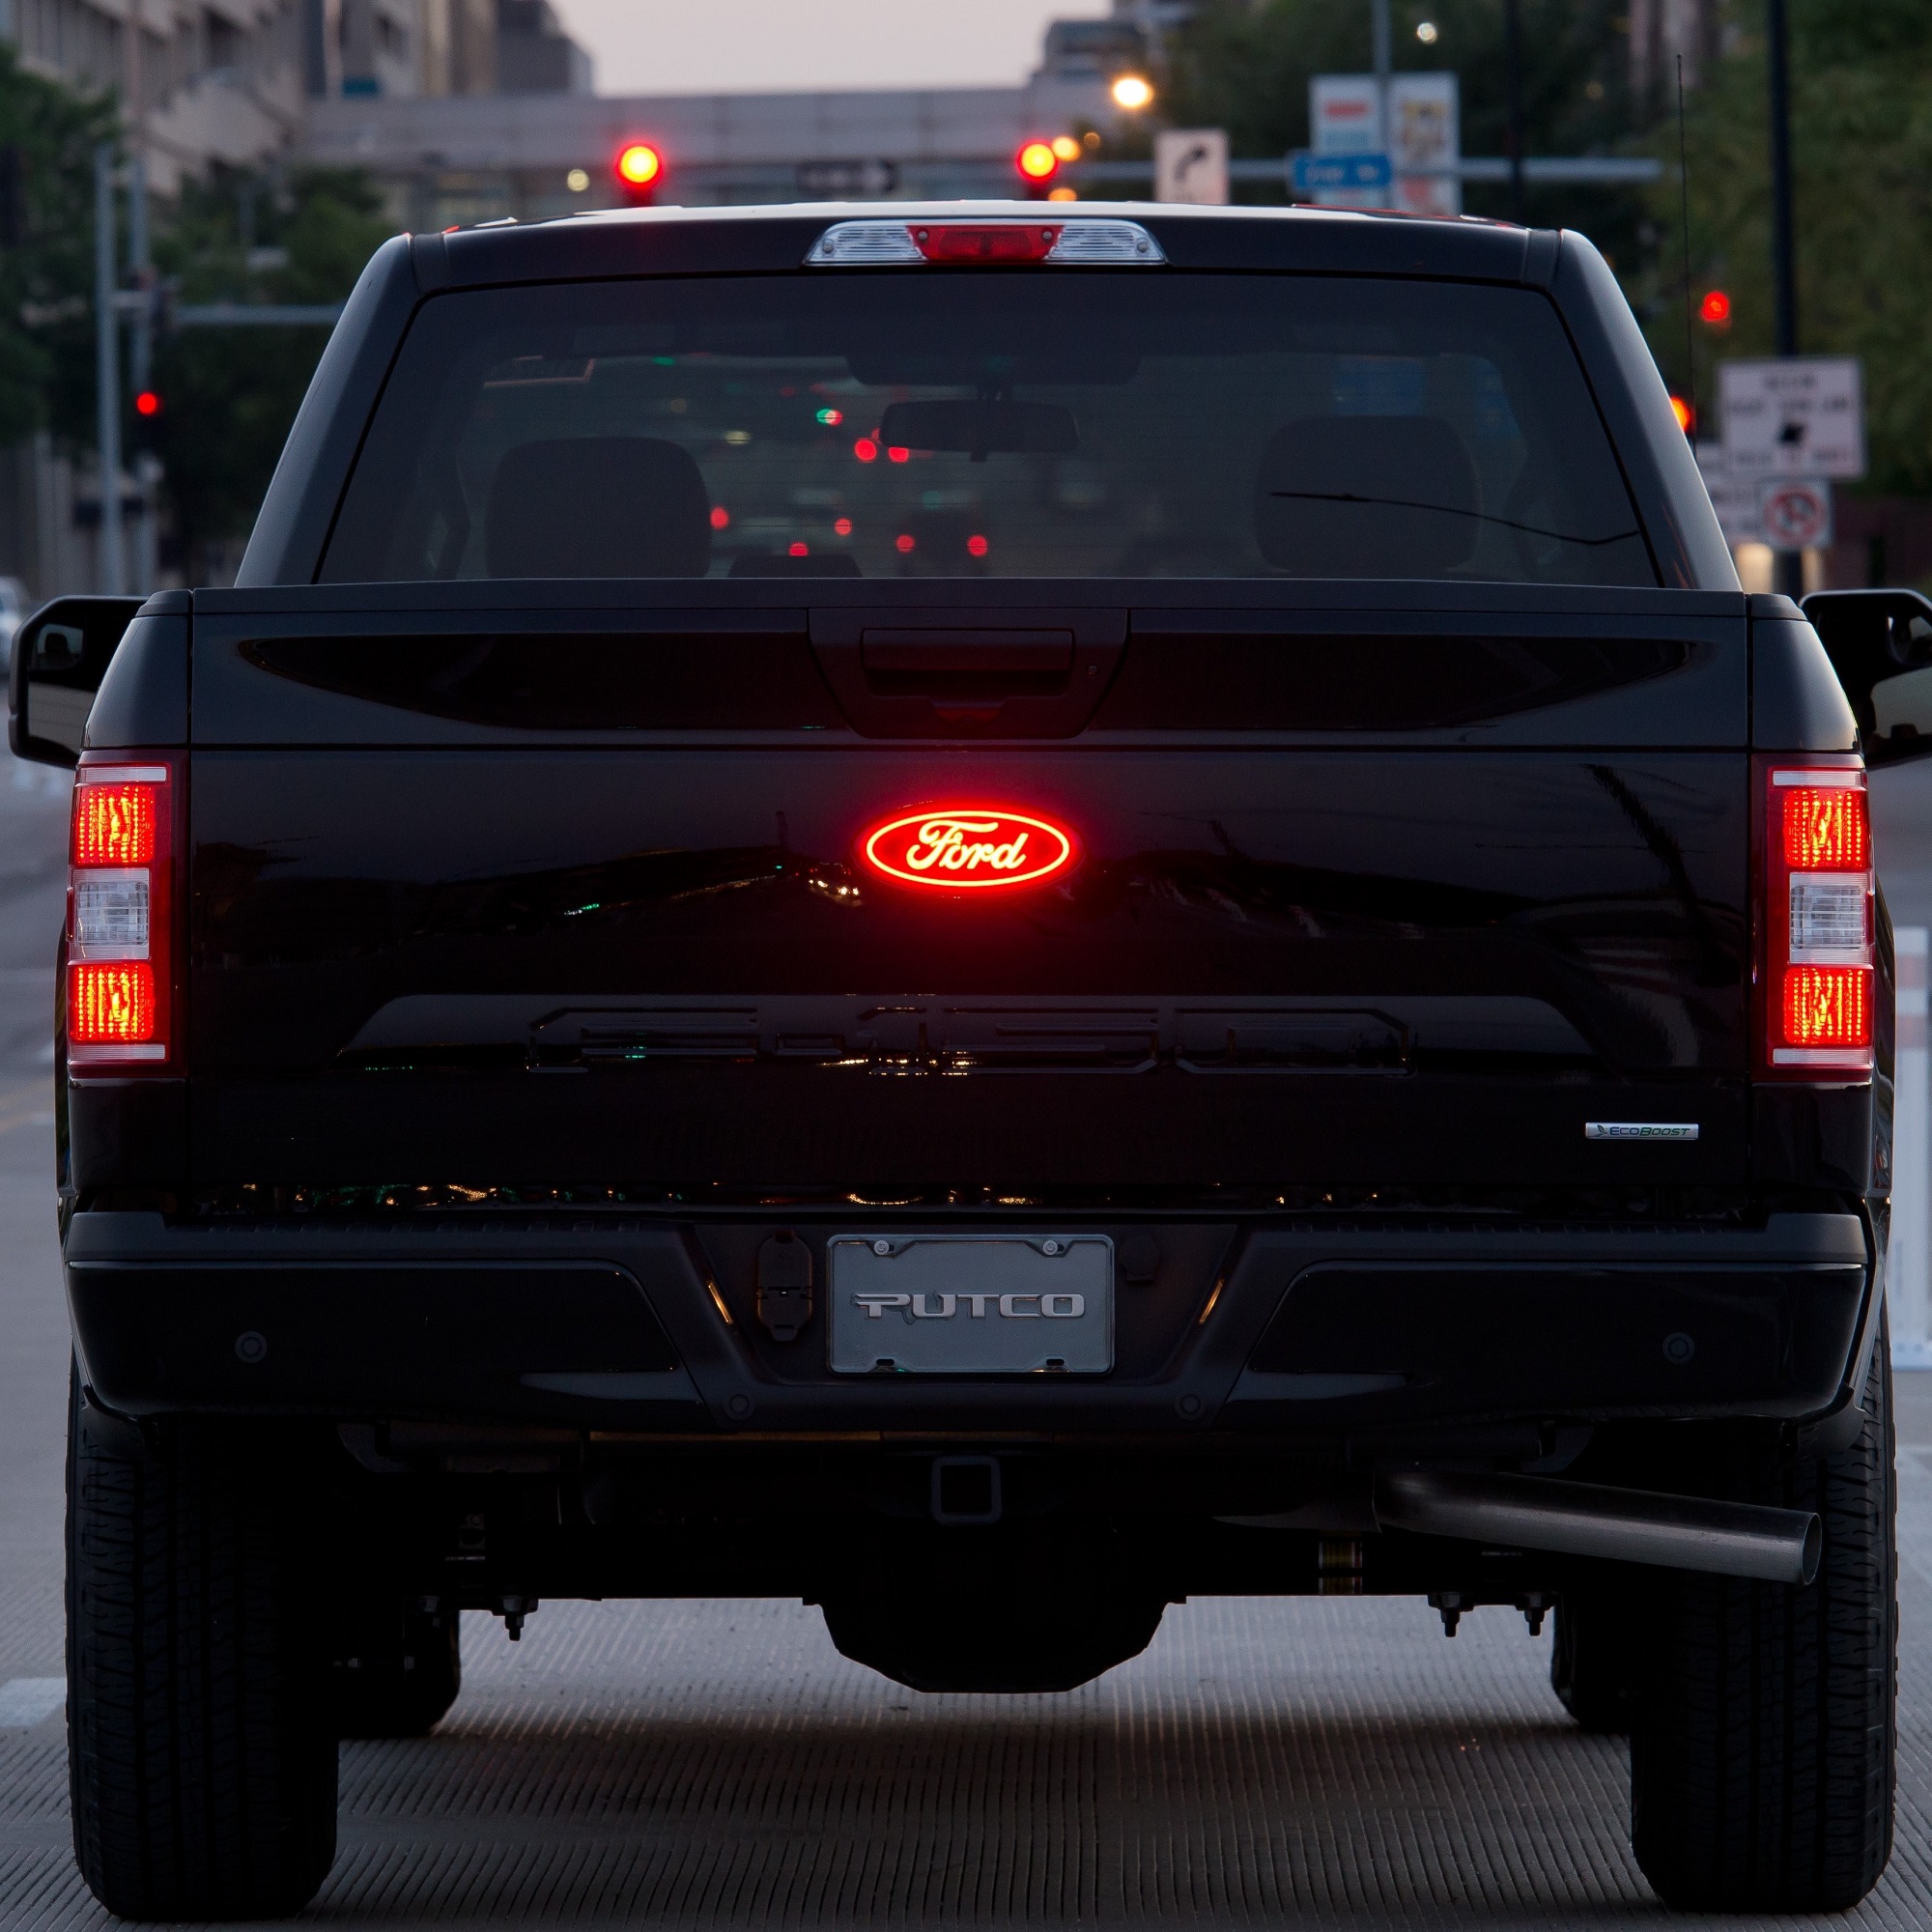
Credit: www.putco.com
Removing The Emblem
Warm the emblem with a heat gun or hair dryer, keeping the nozzle moving and holding it roughly 6 to 8 inches from the surface. You want the emblem and adhesive warm to the touch but not so hot you cannot hold your hand on the panel — if the paint is uncomfortable to touch, back off. Work in short passes for 30 to 60 seconds, then test a corner with your fishing line. On a cool day you may need to reheat two or three times. Once the adhesive softens, slide the line under the emblem with a gentle sawing motion, working corner to corner. If the emblem is pin-fastened, do not pry yet — see the wiring and backing plate step below.
Removing the emblem on your F150 tailgate can be a straightforward process if you follow the right steps. Whether you want to replace it with a custom emblem or simply remove it for a cleaner look, here’s how you can do it.
Use Heat To Loosen Adhesive
To start, you’ll need a heat gun or a hairdryer. Hold it a few inches away from the emblem, and gradually heat the adhesive underneath. Apply the heat evenly to ensure the adhesive becomes soft and pliable. This will make it easier to remove the emblem without damaging the paint or the tailgate.
Slide A Thin Tool Under The Emblem
While the adhesive is still warm, take a thin and flat tool, such as a plastic pry tool or a credit card, and slide it slowly under the emblem. Be gentle but firm in your movements to avoid scratching the paint. As you slide the tool, you’ll start to feel the adhesive releasing its grip on the emblem.
Carefully Pry Off The Emblem
Once you have the tool inserted, apply gentle pressure to pry off the emblem from the tailgate. Start from one side and work your way to the other, ensuring you distribute the force evenly to prevent any damage. You may need to use the tool at different angles to completely release the emblem from the adhesive.
As you remove the emblem, be cautious not to pull too hard or too quickly as this can cause the emblem to snap or leave behind adhesive residue. Slow and steady movements will help you remove it successfully without any issues.
Once you’ve removed the emblem, you may notice some adhesive residue left on the tailgate. Use an adhesive remover or isopropyl alcohol and a clean cloth to gently wipe away any remaining adhesive. Make sure to follow the product instructions to avoid damaging the paint. After that, you can now attach a new emblem or enjoy the clean look of your tailgate without an emblem.
Cleaning The Tailgate
When it comes to customizing your Ford F150, removing the emblem from the tailgate is often the first step. Whether you want to replace it with a different badge or create a sleeker look, removing the emblem is a simple process that can be done at home. In this guide, we will focus on the subheading of “Cleaning the Tailgate”.
Remove Any Remaining Adhesive
Before you can start cleaning the tailgate, you need to remove any remaining adhesive from the previous emblem. This can be done using a heat gun or a hairdryer to soften the adhesive. Carefully peel off the emblem, starting from one corner and working your way across. Use a strand of dental floss to slide under the badge, making it easier to remove. Be gentle to avoid scratching the surface of the tailgate.
Clean The Surface With Adhesive Remover
Once the emblem is removed, it’s time to clean the tailgate surface. Adhesive residue may be left behind, which can mar the appearance of your vehicle. To effectively remove the residue, use an adhesive remover that is safe for automotive surfaces. Here is a step-by-step process to clean the surface:
- Apply a small amount of adhesive remover onto a clean cloth or sponge.
- Gently rub the adhesive remover onto the residue on the tailgate in circular motions.
- Allow the adhesive remover to sit on the residue for a few minutes to break it down.
- Using the cloth or sponge, scrub the residue in a back-and-forth motion until it is completely removed.
- Wipe the tailgate surface clean with a damp cloth to remove any remaining adhesive remover.
- Dry the surface with a clean, lint-free cloth to ensure there is no moisture left.

Credit: www.youtube.com
Replacing The Emblem
If your emblem is pin-fastened, the tailgate camera or blind spot monitor wiring may run behind it. Pop the tailgate access panel with trim tools and look before you pry. Unplug any connector attached to the emblem backing plate, and support the emblem so it does not hang by its wiring. Never cut or yank a connector — if the emblem will not release, there is still a fastener you have missed.
Replacing the emblem on your F150 tailgate is a simple process that can instantly enhance the look of your truck. Once you have successfully removed the old emblem, the next step is to apply adhesive to the back of the new emblem and align it onto the tailgate. Here’s a step-by-step guide on how to do it:Apply Adhesive To The Back Of The New Emblem
1. Start by preparing the adhesive. You can use a strong automotive adhesive that is specifically designed for attaching emblems. Make sure to follow the manufacturer’s instructions for the adhesive application. 2. Apply a thin, even layer of adhesive to the back of the new emblem using a small brush or applicator. Be careful not to apply too much adhesive, as it may squeeze out when the emblem is pressed onto the tailgate. 3. Ensure that the adhesive covers the entire back surface of the emblem, including the edges. This will help ensure a strong and long-lasting bond between the emblem and the tailgate.Align And Press The New Emblem Onto The Tailgate
1. Take the new emblem with the adhesive applied and align it onto the exact spot where the old emblem was located on the tailgate. Make sure to position it correctly to maintain symmetry and aesthetic appeal. 2. Once aligned, press the emblem firmly onto the tailgate with even pressure. Use your hand or a clean cloth to apply pressure evenly across the entire emblem surface. This will help the adhesive bond properly and ensure a secure attachment. 3. Double-check the alignment and positioning of the emblem before the adhesive sets. If necessary, adjust it slightly to achieve the desired look. 4. Allow the adhesive to cure for the recommended time specified by the adhesive manufacturer. This will ensure a strong bond between the emblem and the tailgate. By following these steps, you can easily replace the emblem on your F150 tailgate and give your truck a fresh, updated look. Remember to take your time during the process to ensure proper alignment and a secure attachment. With the new emblem in place, you can proudly showcase your personal style and make your F150 stand out.Frequently Asked Questions On How To Remove F150 Emblem From Tailgate
How Do You Remove The Ford Tailgate Emblem?
It depends on the year. On many 2009-2014 and 2015-2020 trucks the Ford oval is held by alignment pins and retaining nuts behind the tailgate panel, so you have to unbolt it from the inside. On 2021+ trucks and many adhesive-only trim badges, heat and fishing line are enough. Check for nuts behind the panel before you start prying.
How Do You Remove F150 Badges?
Heat the badge with a hair dryer or heat gun, then slide fishing line or dental floss underneath to cut the adhesive. If the badge has pins, remove the tailgate access panel first and unbolt the retaining nuts. Clean off the old adhesive with adhesive remover, then apply a new badge with fresh 3M trim tape.
Consider watching DIY videos on YouTube for step-by-step instructions.
How Do You Open The Tailgate On A 2015 Ford F150?
To open the tailgate on a 2015 Ford F150, simply locate the tailgate handle and pull it towards you. Ensure that the tailgate is unlocked before attempting to open it.
How Do You Lock The Tailgate On A F150?
To lock the tailgate on a F150, close the tailgate until it latches securely. Make sure it is fully closed and locked by giving it a firm push.
Conclusion
To remove the F150 emblem from your tailgate, follow the simple steps outlined in this guide. Start by using a heat gun to soften the adhesive, then gently pry the emblem off with a plastic pry tool. Clean any remaining adhesive using an adhesive remover.
Finally, apply the new emblem of your choice. With the right tools and techniques, you can easily give your Ford F150 a fresh new look.
Related posts:
 How Far Can You Drive Without an Alternator? Real Distances
 What Color Is Avalanche for Ford? The Definitive 2026 Guide
 How to Disengage 4WD in Ford F150: Easy Steps to 2H
 How to Fix Power Steering Assist Fault in Ford F150
 What Lug Pattern is a Ford F150: Unveiling the Perfect Fit for Your Ride
 What Are Cam Phasers F150
How Much is a Windshield for a Ford F150: Find the Best Price Now!
 Best Aftermarket Radio For 2013 Ford F150: Expert Picks
 Best Floor Jack for F150
 How to Get a Spare Tire off a Ford F150
 5 Best Ford F150 Bed Covers: Expert Picks & Quality Tested
 Best Tuners for Ford F150 EcoBoost to Boost Performance