How to Fix Active Air Dam System Fault Ford F150 (DIY Guide)
If you own a Ford F150, you know how crucial every component is to your truck’s performance and efficiency. One of these key components is the active air dam system, designed to enhance aerodynamics and improve fuel efficiency.
But what happens when this system encounters a fault? You might notice a drop in your truck’s performance or even get warning signals on your dashboard. This is where your expertise can shine, even if you’re not a mechanic. Fixing an active air dam system fault doesn’t have to be a daunting task.
By understanding the basics and following a few simple steps, you can restore your F150 to its optimal state. Curious to learn how? Stick around, because the solutions are simpler than you might think, and mastering them will keep your truck running smoothly without unnecessary trips to the repair shop. Your Ford F150 deserves the best care, and you’re about to discover how to provide just that.
Key Steps
- Read the Error Code with an OBD-II Scanner
- Inspect the Active Air Dam Components (motor, sensors, wiring)
- Check for Obstructions or Physical Damage
- Test the Air Dam Motor for Power and Movement
- Inspect Fuses and Relays Related to the System
- Reset the Fault Code (if minor and no physical issue)
- Replace Faulty Components (motor, sensor, etc.)
- Perform a System Recalibration (via scan tool or dealer)
- Test Drive to Confirm the Fix
Common Causes Of Air Dam System Faults
Wires might become loose or damaged over time. This leads to faults. Check all connections. Ensure they are secure. Replace any frayed wires. A broken wire can cause the system to fail. Regular checks help prevent issues.
Sensors may stop working correctly. A faulty sensor gives wrong signals. This can confuse the system. Test sensors regularly. Replace them if they malfunction. Working sensors are crucial for the system.
Sometimes, dirt or debris blocks the air dam. This causes the system to fail. Keep the air dam area clean and clear. Remove any obstructions quickly. Regular cleaning prevents blockages. Smooth operation is key.
Faulty Motor Or Actuator
The actuator motor is what actually moves the air dam up and down, and it is the most common failure point. Water intrusion, road salt, and years of cycling wear out the internal gears and brushes. A motor that hums but does not move, or one that is completely silent when commanded, usually needs replacement rather than repair. Test it with direct power before buying a new one.

Diagnosing The Air Dam System
Diagnosing the air dam system on a Ford F150 means pulling the stored fault codes first, then confirming what the code points to with a visual and electrical check. The system uses a motor, position sensors, and wiring that the Body Control Module (BCM) monitors, so most faults trace back to one of those three. Work through the code, inspect the components, and reset only after the physical cause is resolved.
Using Diagnostic Tools
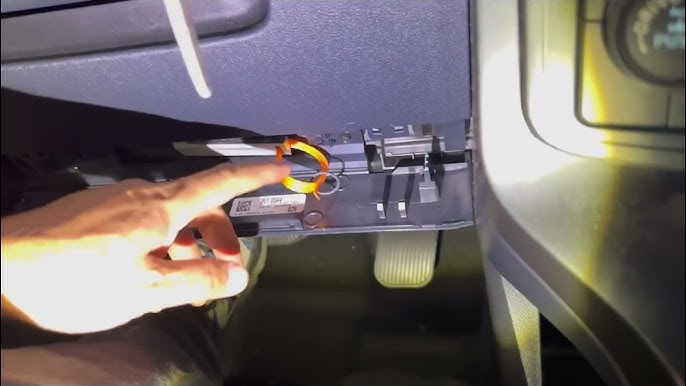
Start with an OBD-II scanner that can read body codes, not just engine codes. A basic engine-code reader often will not show air dam faults because they live in the BCM. Plug the scanner into the port under the dash, turn the ignition on, and pull all stored and pending codes. Write down every code before you clear anything, since clearing too early erases the clues you need.
Checking For Error Codes
Air dam faults usually show up as a B-code or a U-code rather than a P-code. B-codes point to body system problems like the motor or position sensor, while U-codes point to communication issues between the BCM and the air dam module. Look up each code in a Ford-specific guide rather than a generic list, because the same number can mean different things across brands. A code alone rarely names the failed part; it names the circuit or system to check.
Inspecting Physical Components
With the codes in hand, get under the front of the truck and inspect the air dam assembly. Look for the actuator motor, the linkage, and any position sensors mounted near the dam. Check for cracked housings, corrosion on the connectors, and wires that are pinched, chafed, or pulled tight. Push and pull each connector to confirm it is fully seated. Anything loose, burnt, or broken gets noted before you move to electrical testing.
Repairing Wiring And Connections
Unplug the connector at the air dam motor and inspect the pins for corrosion or green buildup. Clean them with electrical contact cleaner if needed. Set your multimeter to DC volts, backprobe the power and ground pins with the ignition on, and confirm you are getting battery voltage. No voltage points to a fuse, relay, or wiring problem upstream rather than a dead motor.
If power and ground check out at the connector, test the motor itself. Apply 12 volts directly to the motor terminals using jumper wires and watch whether the dam moves. A motor that does nothing or only twitches is failing. A motor that runs smoothly but never gets commanded to move points back to the sensor or module side.
For damaged wiring, cut out only the bad section and splice in a length of the same gauge wire. Use crimped butt connectors or solder and seal the joint with heat-shrink tubing, not electrical tape alone. Tape loosens with heat and vibration and lets moisture in. After the repair, tug gently on each end to confirm the splice holds.

Fixing Sensor Problems
Fixing the Active Air Dam System Fault in a Ford F150 involves checking for sensor errors or wiring issues. Start by inspecting connections and replacing faulty parts if needed. Regular maintenance can prevent sensor problems and ensure smooth operation.
Testing Sensor Functionality
Test the position sensor with a multimeter set to resistance or voltage, depending on the sensor type. A good sensor returns a smooth, consistent reading as the dam moves through its range. A reading that jumps, drops to zero, or stays fixed while the dam moves means the sensor is failing. Wiggle the harness while you test to catch intermittent breaks that only show up under vibration.
Cleaning Or Replacing Sensors
Clean the sensor face with a soft cloth and a little electrical contact cleaner, not water or solvent. Dust and road grime can block the sensor’s reading and trigger a fault that looks electrical but is really just dirt. If the reading is still off after cleaning, replace the sensor with the correct Ford part number for your truck’s year and trim. Match the connector shape and pin count before installing, then clear the code and retest.
Removing Mechanical Obstructions
With the truck off and safely supported, reach under the front bumper and try to move the air dam by hand. It should travel through its full range with light, even resistance. A dam that sticks, grinds, or only moves partway has a mechanical problem, not an electrical one. Look for bent linkage, worn bushings, or a dam that has been pushed out of alignment by a curb or parking block.
Remove any debris or dirt around the dam. Leaves and mud can block it. Use a brush or a cloth. Clean the area around it. Check under the car for any hidden debris. A clear path helps the air dam work better.
Resetting The Air Dam System
Checking Fuses And Relays
Before replacing any part, confirm the air dam circuit has power. Check the fuse box under the hood and the one in the passenger compartment, using the diagram in your owner’s manual to find the fuse that feeds the active air dam. A blown fuse points to a short somewhere in the circuit, so replace the fuse and watch whether it blows again. If it does, track down the short before driving further.
Resetting the air dam system in a Ford F150 can resolve active air dam faults. Start by turning off the vehicle and disconnecting the battery for safety. Reconnect, then test the system to ensure proper functioning.
Using Vehicle Software
Some F150 trims let you reset the system through the instrument cluster or a scan tool with bidirectional controls. Turn the ignition on without starting the engine, navigate to the vehicle settings or body control menu, and look for an air dam calibration or reset option. Run it and let the system cycle the dam through its full range. If the menu option is not there, the reset has to be done with a scan tool that supports BCM functions.
Manual Reset Procedures
The battery-disconnect method is a blunt reset, not a repair. Turn off the ignition, disconnect the negative terminal, and wait about 10 minutes before reconnecting. This clears adaptive memory but will not fix a bad motor, sensor, or wiring. If the fault returns right after the reset, the underlying cause is still there and needs to be diagnosed rather than reset again.

Preventive Maintenance Tips
Fixing an Active Air Dam System Fault in a Ford F150 involves regular checks. Ensure connectors are secure and clear of debris. Periodic system updates can prevent faults and enhance performance.
Regular System Inspections
Inspect the air dam system every oil change or roughly every 5,000 miles. Check that the dam moves freely, the connectors are seated, and no wires are chafing against the bumper or frame. Tighten any loose fasteners and note any new codes before they turn into a hard fault. Catching a slow-moving dam early is far cheaper than replacing a burnt-out motor.
Keeping The Air Dam Clean
Rinse the air dam area with a hose during regular washes to clear road salt, mud, and debris. Avoid high-pressure spray directly into the motor or sensor connectors, since forced water can push past seals and cause corrosion. A soft brush around the linkage keeps it moving freely. In winter, a quick rinse after driving on salted roads goes a long way.
Monitoring System Alerts
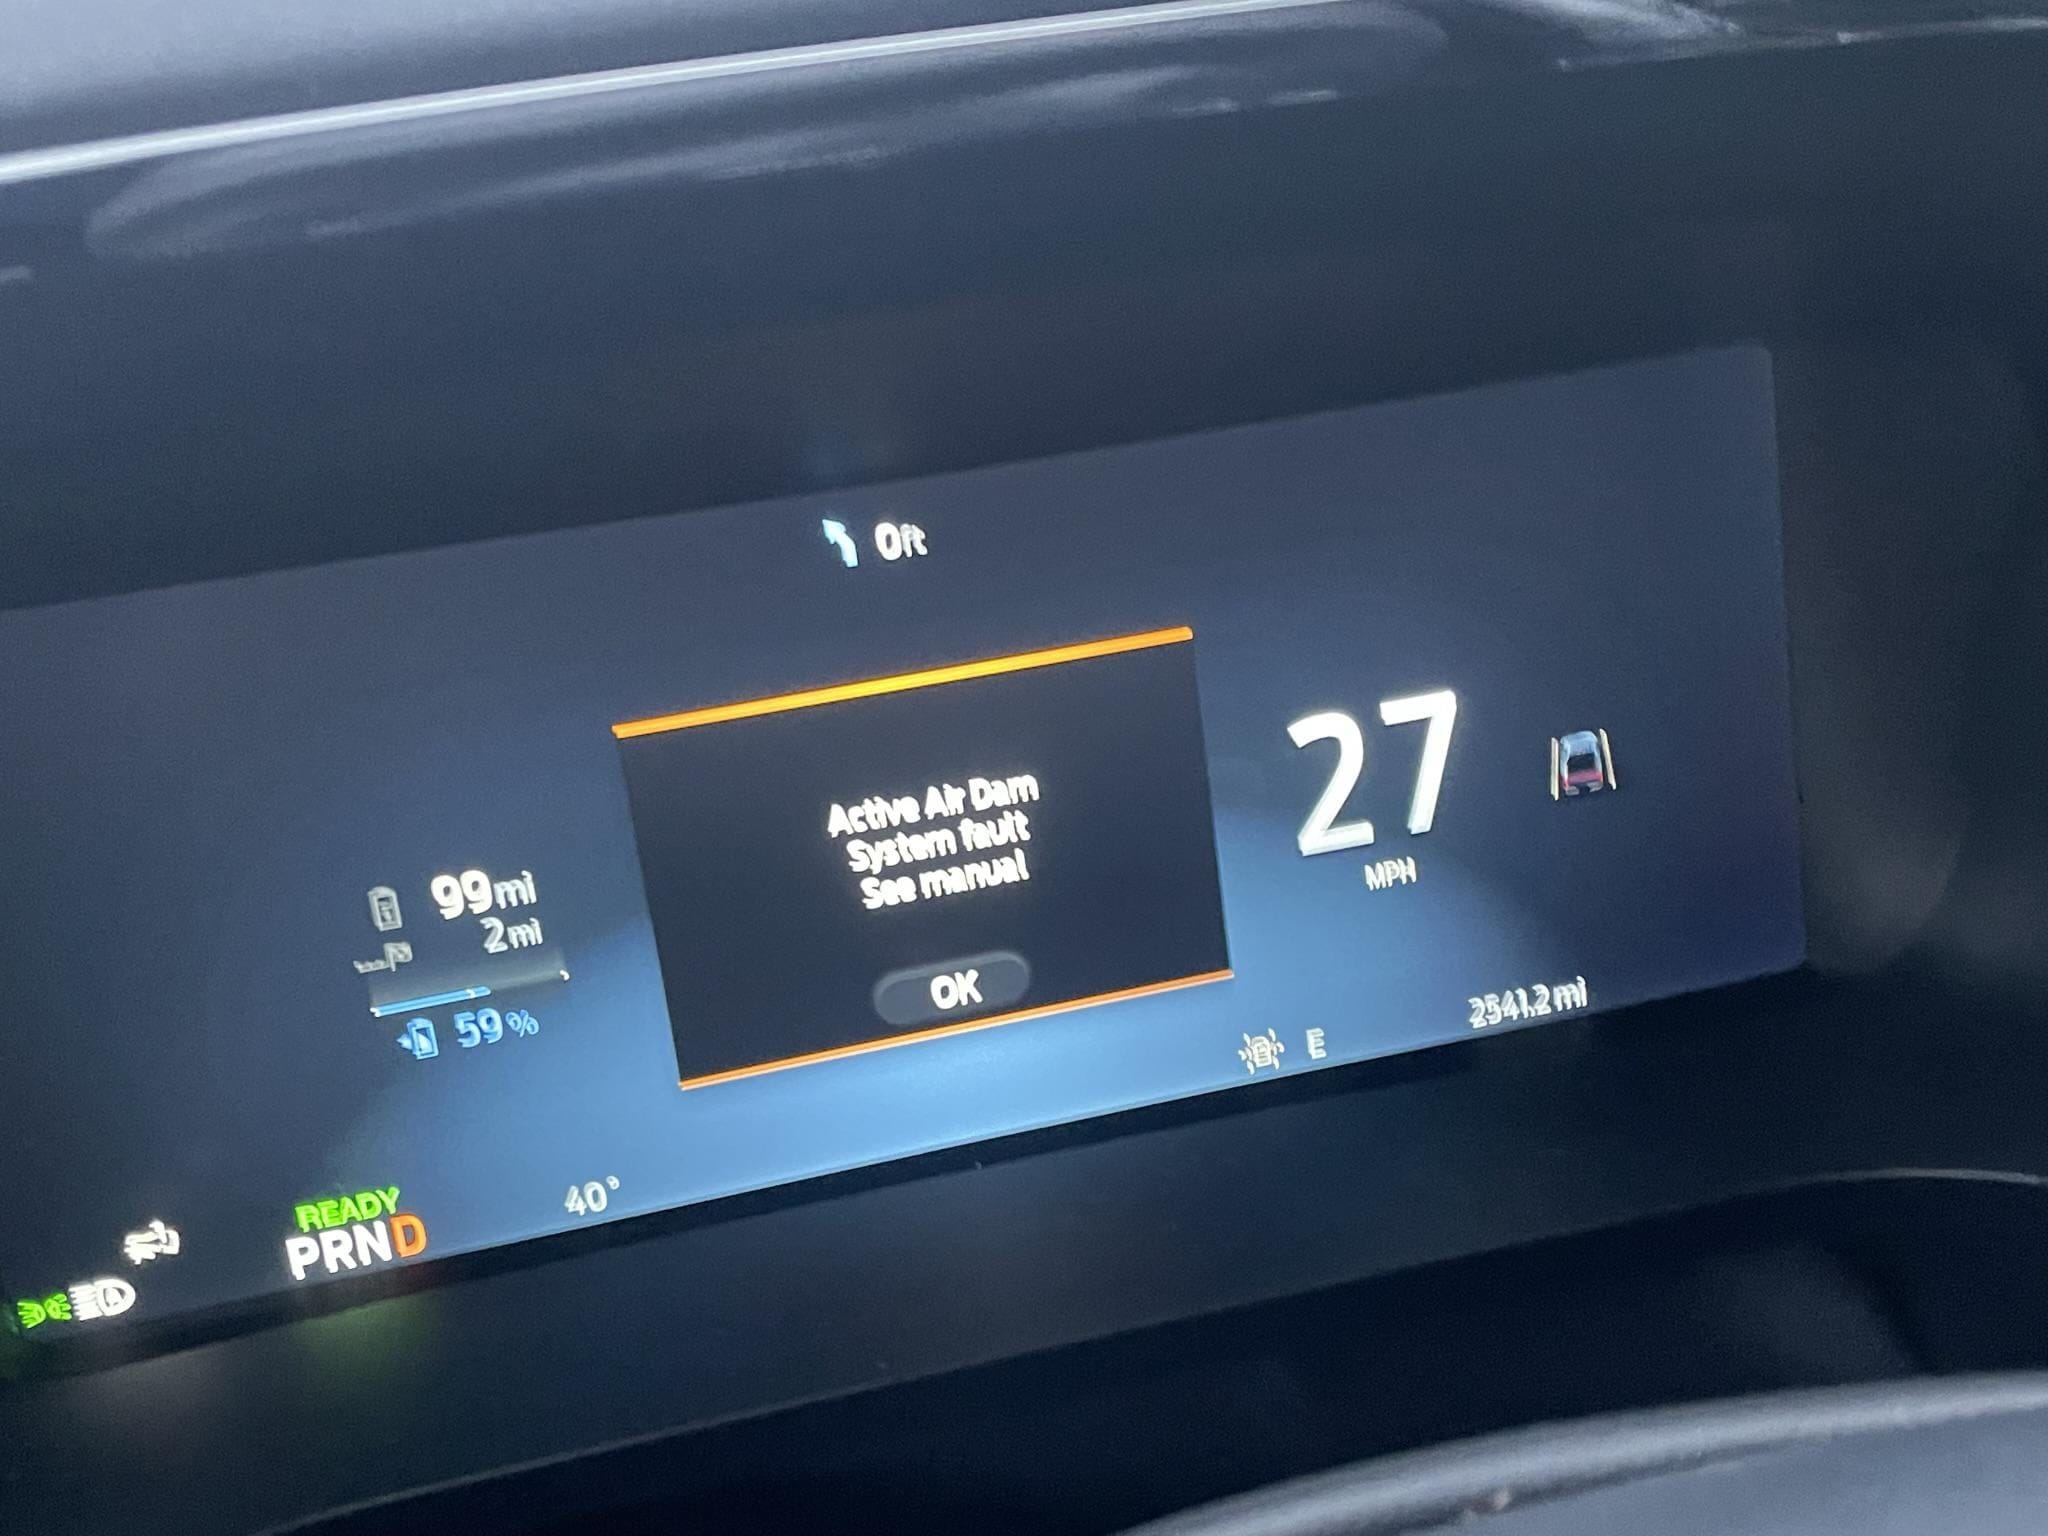
When the Active Air Dam System Fault message appears, do not just clear it and keep driving. Note when it shows up, such as at startup, at highway speed, or after a car wash, because the pattern narrows down the cause. A fault that only appears when the dam tries to deploy points to the motor or linkage, while a fault at startup often points to a sensor or wiring issue.
How Much A Fix Typically Costs
Cost depends entirely on which part failed. A fuse or a cleaned connector costs almost nothing. A replacement actuator motor or position sensor is a mid-range part, and labor is modest because the assembly is accessible from under the front bumper. Dealer recalibration adds a diagnostic fee. Getting the code read first is what keeps the bill from ballooning, since it tells you which of those paths you are on.
Frequently Asked Questions
What Is An Active Air Dam System Fault?
An active air dam system fault means the BCM has detected a problem with the motor, position sensor, or wiring that controls the deployable front air dam. The dam lowers at highway speed to cut drag and raise fuel economy, then retracts at low speed for ground clearance. When the fault sets, the dam usually stays in one position and you get a dashboard message, but the truck remains safe to drive.
How Do I Identify System Fault Signs?
Signs include unusual noises or dashboard warnings. You might notice decreased fuel efficiency or changes in vehicle handling. Regularly check for visible damage or obstructions. Addressing these signs early can prevent more serious issues and ensure the system functions correctly.
Can I Fix The Fault Myself?
Yes, most of the diagnosis and repair is doable in a driveway with basic tools. You can read codes, inspect connectors, test the motor, and replace a sensor or motor yourself. What you cannot easily do without a scan tool is recalibrate the system after a repair, so plan on either buying a tool that supports BCM functions or having a shop run the calibration once the part is swapped.
What Tools Are Needed For Repair?
Basic tools like a wrench, screwdriver, and diagnostic scanner are useful. These tools help in checking connections and reading fault codes. Having a repair manual specific to the Ford F150 can provide guidance. For advanced repairs, professional assistance might be necessary.
Conclusion
Fixing the Active Air Dam System on your Ford F150 is straightforward. Follow these steps carefully for the best results. Ensure all connections are secure and parts are in good condition. Regular checks can prevent future faults. Don’t ignore warning signs from your vehicle.
Addressing issues early can save you time and money. Always consult your manual for specific guidance. If problems persist, seek professional help. Your Ford F150 deserves proper care. Keep it running smoothly for a better driving experience. Stay informed and proactive about maintenance.
Related posts:
 How Far Can You Drive Without an Alternator? Real Distances
 What Color Is Avalanche for Ford? The Definitive 2026 Guide
 How to Disengage 4WD in Ford F150: Easy Steps to 2H
 Ford F150 Power Steering Assist Fault: Fix by Year, Codes & Cost
 What Lug Pattern is a Ford F150: Unveiling the Perfect Fit for Your Ride
 Does My F150 Have Remote Start? 3 Easy Ways to Check
 Does 2016 F150 Have Apple CarPlay? SYNC 3 vs SYNC 2 Guide
 Best 6X8 Speakers for Ford F150: Tested & Reviewed
 Best Adjustable Hitch for F150
 How to Change Battery in F150 Key Fob
 5 Best Ford F150 Bed Covers: Expert Picks & Quality Tested
 Best Tuners for Ford F150 EcoBoost to Boost Performance