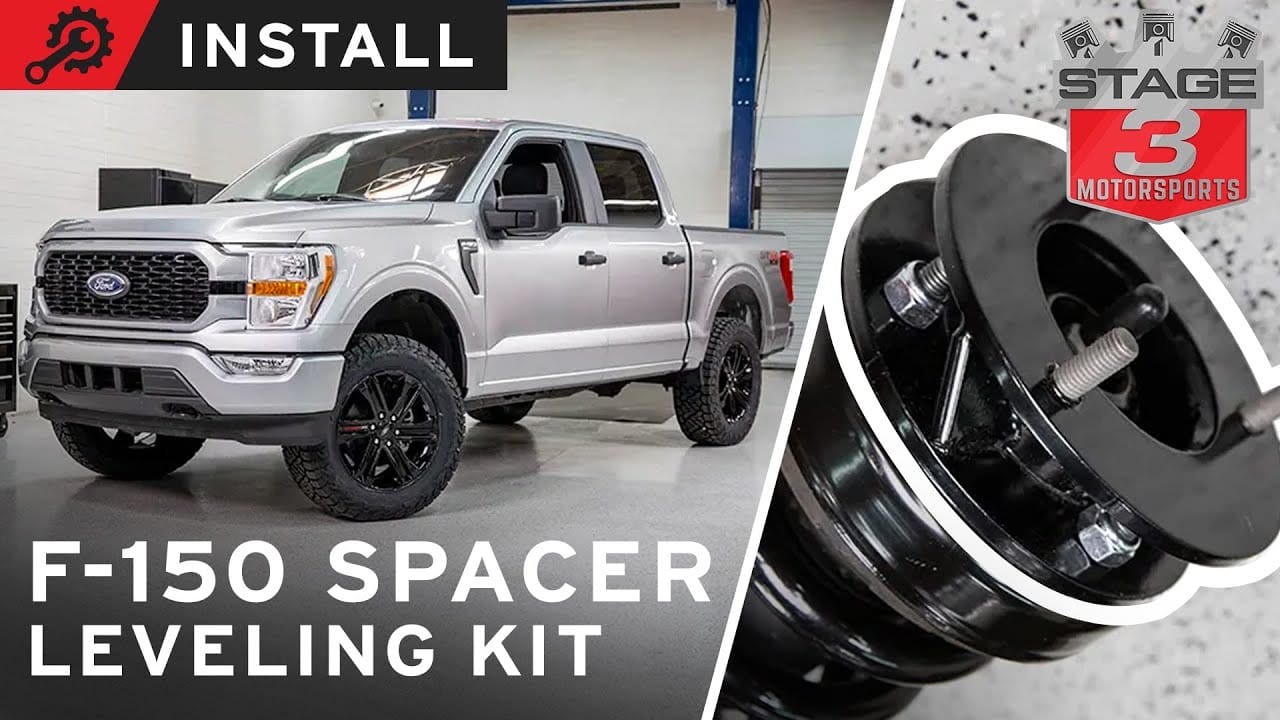
How to Install F150 Leveling Kit
You might feel a bit overwhelmed thinking about where to start, but worry not. This guide is here to walk you through the process with ease. Imagine driving your F150 with a more aggressive look and improved balance—sounds exciting, right?
By the end of this article, you’ll have all the confidence you need to install a leveling kit yourself, saving money and gaining a rewarding DIY experience. Let’s dive in and explore how you can transform your truck today.
Key Steps
- Park on a Level Surface and Secure the Vehicle
- Loosen Lug Nuts
- Jack Up the Front of the Truck
- Remove the Front Wheels
- Disconnect the Upper Control Arm from the Spindle
- Remove the Strut Assembly
- Install the Leveling Kit Spacer
- Reinstall the Strut Assembly
- Reconnect the Upper Control Arm
- Reinstall the Wheels
- Lower the Truck
- Torque Lug Nuts to Spec
- Get a Wheel Alignment

Tools And Materials Needed
To install the F150 leveling kit, gather the right tools. A jack and a jack stand are crucial for lifting the truck safely. Wrenches and sockets of various sizes will help you loosen bolts. Ensure you have a torque wrench to tighten them to the correct specification. A drill might be needed for some kits.
Get a spring compressor if the kit involves coil springs. Always have safety gloves and goggles to protect yourself. Before starting, have the instruction manual handy. This ensures you follow all steps correctly. Having all these tools ready makes the process smoother and safer.

Choosing The Right Leveling Kit
Selecting the best leveling kit for your F150 is important. Consider the type of kit and compatibility. There are different kits, like spacers and coilovers. Each has its advantages. Spacers are budget-friendly and easy to install. Coilovers offer better performance but can be costly. Checking your truck’s model and year is crucial. Not all kits fit every truck. Research well before buying. Look for reviews and ratings online. A good kit improves your truck’s balance and appearance.
Installation is easier with the right kit. Follow instructions carefully. Ensure you have all the tools needed. Some kits may need professional help. Safety is key, so take your time. Enjoy a smoother ride and a better look with your new leveling kit.
Preparation Steps
Ensure the car is parked on a flat surface. Engage the handbrake to prevent movement. Use sturdy jack stands to support the vehicle. Wear gloves and safety goggles to protect your hands and eyes. Check all tools for damage before use. Always follow the kit’s instructions carefully. Avoid rushing the process to prevent accidents.
Choose a clean, open area for work. Gather all tools and equipment beforehand. Organize tools for easy access during installation. Maintain good lighting for better visibility. Keep manuals and guides within reach. Ensure sufficient space to move around the vehicle. Prepare a safe place to store the removed parts.
Removing Factory Components
First, make sure the truck is on a flat surface. This keeps it safe. Use a lug wrench to loosen the lug nuts. Do not remove them yet. Just make them easy to turn. This step is important. It helps you later when you lift the truck. Always remember, safety first. Do not forget to use safety gear. Gloves and goggles are a must. Be careful and take your time.
Raise the truck with a jack. Secure it with jack stands. This keeps it stable. Remove the wheels. Now you can see the suspension parts. Take off the shock absorbers first. They are usually held by bolts. Use a wrench to remove these. Next, remove the coil springs. Be gentle, they are under pressure. Keep all removed parts safe. You will need them again. Follow each step carefully. This makes reassembly easier.
Installing The Leveling Kit
First, make sure the F150 is on a flat surface. This helps balance the vehicle. Use a jack to lift the front of the truck. Be careful and ensure the truck is stable. Next, remove the front wheels to access the suspension. Check the instructions that came with your kit. This will show you where to place it. Position the leveling kit correctly on top of the strut. Make sure it’s snug and fits well.
Find the bolts in your kit. These are important for holding the kit in place. Use a wrench to tighten each bolt. Ensure they are secure but don’t over-tighten. Over-tightening can cause damage. Look at each fastener to ensure it is tight. Check all parts to make sure everything is secure. This keeps the kit from moving when driving.
Reassembling The Suspension
Begin by placing the suspension components back into their spots. Ensure each piece fits securely. Align the bolts and nuts carefully. Use your hands to start the threads. This helps prevent cross-threading.
Once aligned, use tools to tighten them. Make sure everything is snug. Check each component twice. A proper fit keeps the truck safe.
Put the wheels back onto the truck. Align them with the wheel studs. Start screwing the lug nuts by hand. This helps with alignment. Use a wrench to tighten each lug nut. Make sure they are tight in a criss-cross pattern. This prevents the wheel from being uneven. Check that all nuts are secure. This keeps the wheels safe during driving.
Final Checks And Adjustments
Ensure everything is secure by double-checking bolts and nuts. Adjust the alignment for optimal performance. Test drive to confirm stability and comfort.
Aligning Wheels
Make sure the wheels are straight. Check the alignment after installing the kit. Use a measuring tape to verify the distance between wheels. If the distance is not equal, the wheels need adjusting. Turn the adjustment bolt slightly. This will help align the wheels. Check the steering wheel position. It should be centered when driving straight. Repeat this process if needed.
Test Drive And Evaluation
Take a test drive to check the installation. Listen for unusual noises. Feel the smoothness of the ride. Check if the steering feels normal. If the car pulls to one side, the alignment may be off. Stop the car and inspect again. A short drive helps evaluate any issues. Adjust as needed to ensure a safe ride.
Maintenance Tips
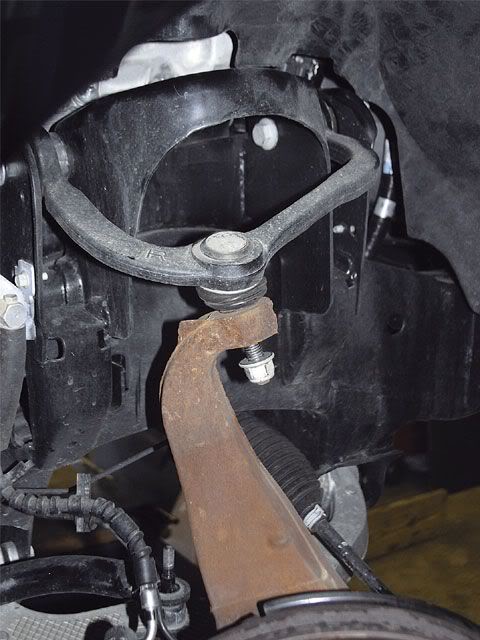
Regular inspections keep your F-150 in top shape. Check the leveling kit often. Look for any signs of wear or damage. Loose bolts can cause problems. Tighten them if needed. Examine the kit for rust. Rust can weaken the metal.
Don’t ignore strange noises. Noises might mean something is loose. Address it right away. Keep an eye on tire alignment. Incorrect alignment can affect handling. Rotate tires regularly for even wear.
Addressing common issues can prevent bigger problems. Sometimes, the truck might lean. This could be due to uneven installation. Adjust the kit to fix this. Suspension can feel rough after installation. Check if the kit is installed correctly. Make sure all parts are secure.
Keep the kit clean. Dirt can affect performance. Wipe it down with a damp cloth. Regular maintenance ensures safe driving.
Frequently Asked Questions
What Tools Are Needed For F150 Leveling Kit Installation?
To install an F150 leveling kit, you’ll need basic tools like a socket set, wrench, jack, and jack stands. Additionally, having a torque wrench and pry bar can be helpful. Make sure to have safety gear, such as gloves and goggles, to ensure a safe installation process.
How Long Does It Take To Install A Leveling Kit?
Installing a leveling kit on an F150 typically takes about 2 to 4 hours. This duration can vary based on experience and the tools available. Ensure you allocate enough time to complete the installation carefully and safely, avoiding any rushed steps.
Does Installing A Leveling Kit Affect Ride Quality?
A leveling kit may slightly alter your F150’s ride quality. The changes are generally minimal and often go unnoticed by most drivers. Some may experience a firmer ride, but it improves the truck’s appearance and ground clearance, making it a popular choice.
Will A Leveling Kit Void My F150 Warranty?
A leveling kit might not void your entire F150 warranty, but it can affect specific parts. It’s essential to check with your dealership or warranty provider before installation. They can provide detailed information about what aspects might be impacted by the modification.
Conclusion
Installing an F150 leveling kit can enhance your truck’s look. It provides a balanced stance and better ground clearance. Follow the steps carefully for a smooth installation. Ensure you have the right tools on hand. Safety is crucial, so take your time.
Double-check each step as you go. This process can be rewarding and worthwhile. Your truck will stand out with its new leveled appearance. Enjoy your improved driving experience. Happy driving!
