How To Clean Fuel Injectors On Ford F150: A Step-By-Step Guide
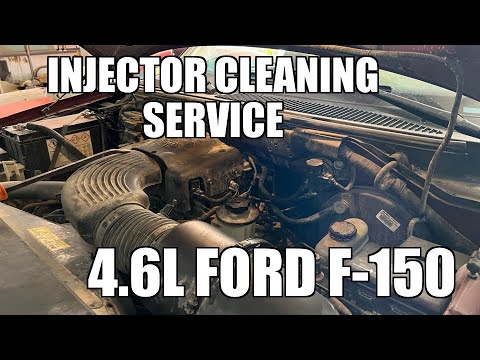
If your Ford F150 is starting to show signs of rough idling, decreased fuel efficiency, or hesitation during acceleration, your fuel injectors might be clogged or dirty. Fuel injectors play a crucial role in delivering fuel to your engine in the right quantities, and when they aren’t working properly, it can lead to various performance issues.
Fortunately, you can clean the fuel injectors yourself without taking a trip to the mechanic. In this guide, we’ll walk you through how to clean fuel injectors on a Ford F150 and explain why it’s an essential part of vehicle maintenance.
Why Clean Your Ford F150’s Fuel Injectors?
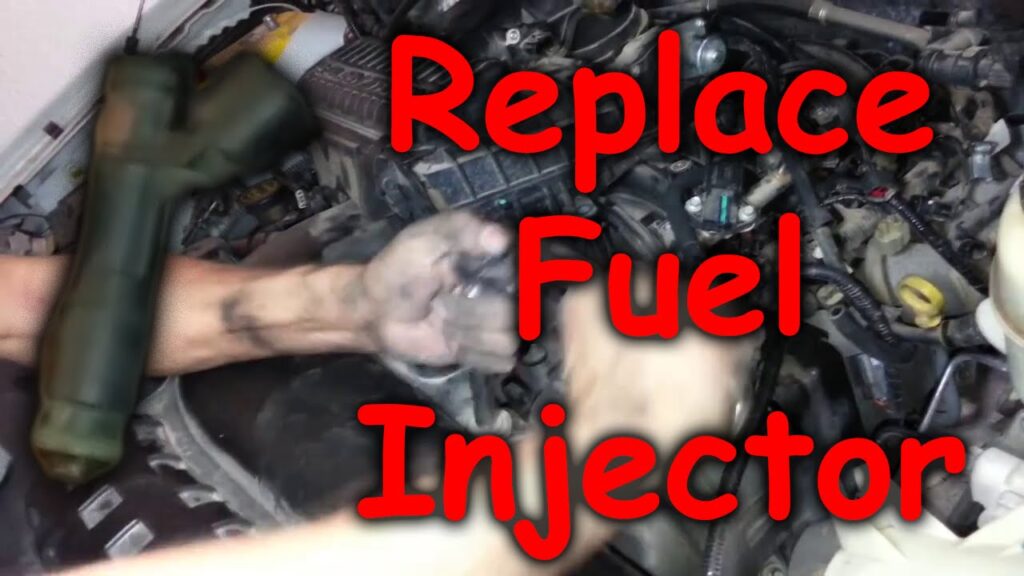
Fuel injectors in the Ford F150 ensure that the engine gets the proper mix of fuel and air for optimal combustion. Over time, carbon deposits, dirt, and other contaminants can build up inside the injectors, reducing their effectiveness. This can result in several issues, including:
- Poor Fuel Efficiency: Clogged injectors make your engine work harder, causing it to use more fuel.
- Rough Idling and Misfires: When injectors aren’t spraying fuel evenly, it can lead to misfires or a shaky idle.
- Reduced Power: Dirty injectors can decrease your truck’s overall performance, especially during acceleration.
By cleaning your fuel injectors regularly, you can avoid these problems, improve fuel economy, and extend the life of your engine.
Signs That Your Fuel Injectors Need Cleaning

Before diving into the cleaning process, it’s important to recognize the symptoms that indicate your fuel injectors need attention:
- Decreased Fuel Efficiency: If you notice that you’re visiting the gas station more frequently, it could be due to clogged injectors.
- Engine Misfires: Hesitation when you press the accelerator or an uneven engine sound at idle.
- Poor Acceleration: Struggling to reach higher speeds or sluggish performance under load.
- Check Engine Light: A check engine light might illuminate due to fuel delivery issues caused by clogged injectors.
If you notice any of these signs, it’s time to clean the fuel injectors. Let’s get into how you can do this yourself.
Step-by-Step Guide to Cleaning Ford F150 Fuel Injectors
There are two main methods to clean your F150’s fuel injectors: using a fuel injector cleaning kit or adding fuel injector cleaner to your gas tank. Below, we’ll outline both methods.
Method 1: Using a Fuel Injector Cleaning Kit
A fuel injector cleaning kit allows you to directly clean the injectors by running a cleaning solution through them instead of gasoline. Here’s how to do it:
What You’ll Need:
- Fuel injector cleaning kit (compatible with Ford engines)
- Safety goggles and gloves
- Wrenches (to disconnect the fuel lines)
- Shop towels or rags
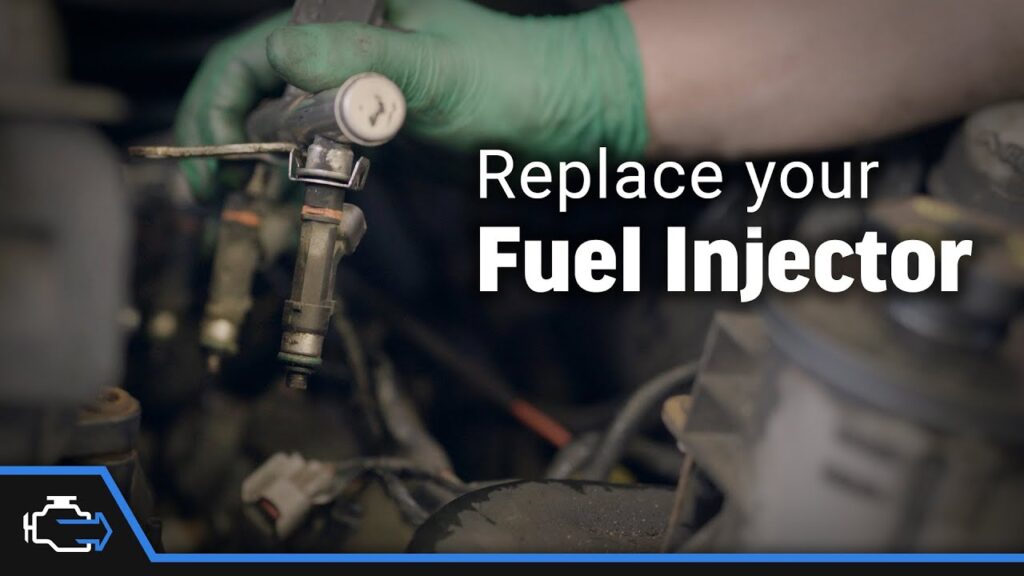
Step-by-Step Instructions:
- Prepare Your Vehicle: Ensure the engine is off and cool. For safety, wear gloves and goggles.
- Disconnect the Fuel Pump: Locate the fuel pump fuse and disconnect it. This will prevent fuel from being delivered to the engine while cleaning.
- Access the Fuel Injectors: Open the hood and locate the fuel injectors. This will usually involve removing the engine cover or intake manifold, depending on your F150’s engine.
- Connect the Cleaning Kit: Follow the instructions on your specific cleaning kit. Typically, you’ll connect the kit to the fuel rail, which allows the cleaner to flow through the injectors.
- Run the Cleaning Solution: Start the engine. The cleaning solution will run through the fuel injectors, breaking up any deposits. This should take about 10-15 minutes, and the engine will shut off once the cleaner is used up.
- Reconnect the Fuel Pump: Once the cleaning is complete, reconnect the fuel pump fuse, and reassemble any parts you removed earlier.
- Test Drive: Start your vehicle and take it for a test drive to check if the issues have improved.
Method 2: Using Fuel Injector Cleaner Additive
If you’re looking for a quick and easy solution, using a fuel injector cleaner additive that you pour into the gas tank is an effective alternative.
What You’ll Need:
- Fuel injector cleaner (available at most auto parts stores)
- A full tank of gas
Step-by-Step Instructions:
- Choose the Right Cleaner: Look for a fuel injector cleaner specifically designed for gasoline engines like the Ford F150. Brands like Lucas, Sea Foam, and Chevron Techron are popular choices.
- Fill Your Gas Tank: Start with a nearly empty tank, then fill your Ford F150’s fuel tank with fresh gasoline.
- Add the Cleaner: Pour the recommended amount of fuel injector cleaner directly into the gas tank. Most bottles will treat up to 20 gallons of fuel.
- Drive Your Vehicle: Drive as you normally would to allow the cleaner to circulate through the fuel system. Over the next few days, you should notice improved performance as the cleaner breaks up deposits in the injectors.
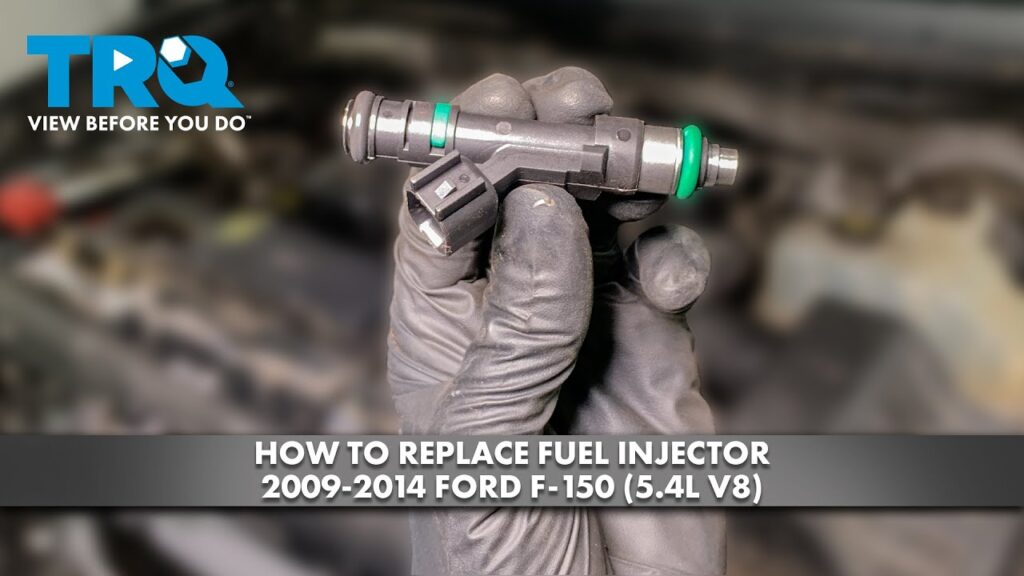
How Often Should You Clean Your Fuel Injectors?
For optimal performance, it’s a good idea to clean your fuel injectors every 30,000 miles or so. However, if you use high-quality gasoline with detergent additives, you may be able to extend the cleaning interval. It’s also wise to clean them if you notice any performance issues, especially if you drive your Ford F150 in harsh conditions or use it for towing.
Preventative Measures for Clean Fuel Injectors
To keep your fuel injectors in top shape, consider these preventative tips:
- Use High-Quality Fuel: High-octane fuel often contains additives that help prevent deposits from forming in the fuel system.
- Regular Maintenance: Follow your Ford F150’s maintenance schedule, which may include fuel system cleaning.
- Change the Fuel Filter: A clogged fuel filter can cause contaminants to reach the injectors. Replace the filter as recommended by the manufacturer.

Conclusion
Cleaning the fuel injectors on your Ford F150 is a simple yet crucial task that can improve your truck’s performance, fuel efficiency, and overall engine health. Whether you use a fuel injector cleaning kit or an additive, regular maintenance will help prevent costly repairs down the line.
For more tips and in-depth guides on maintaining your Ford F150, visit Road Momentum, your go-to source for expert automotive insights. Stay informed, stay ahead, and keep your F150 running like new!
Can I clean fuel injectors myself?
Yes, you can clean fuel injectors yourself by following a step-by-step guide and using the right tools and cleaning solutions.
What are the symptoms of bad fuel injectors in an F-150?
Symptoms of bad fuel injectors in an F-150 may include rough idling, decreased fuel efficiency, poor acceleration, and engine misfires.
What are the signs of bad fuel injectors?
Signs of bad fuel injectors include engine hesitation, increased emissions, decreased power, and a noticeable drop in fuel efficiency.
What is the best way to clean fuel injectors?
The best way to clean fuel injectors involves using a high-quality fuel injector cleaner and following proper on-vehicle or off-vehicle cleaning methods as per your vehicle’s needs.
